Reading time: 27 min
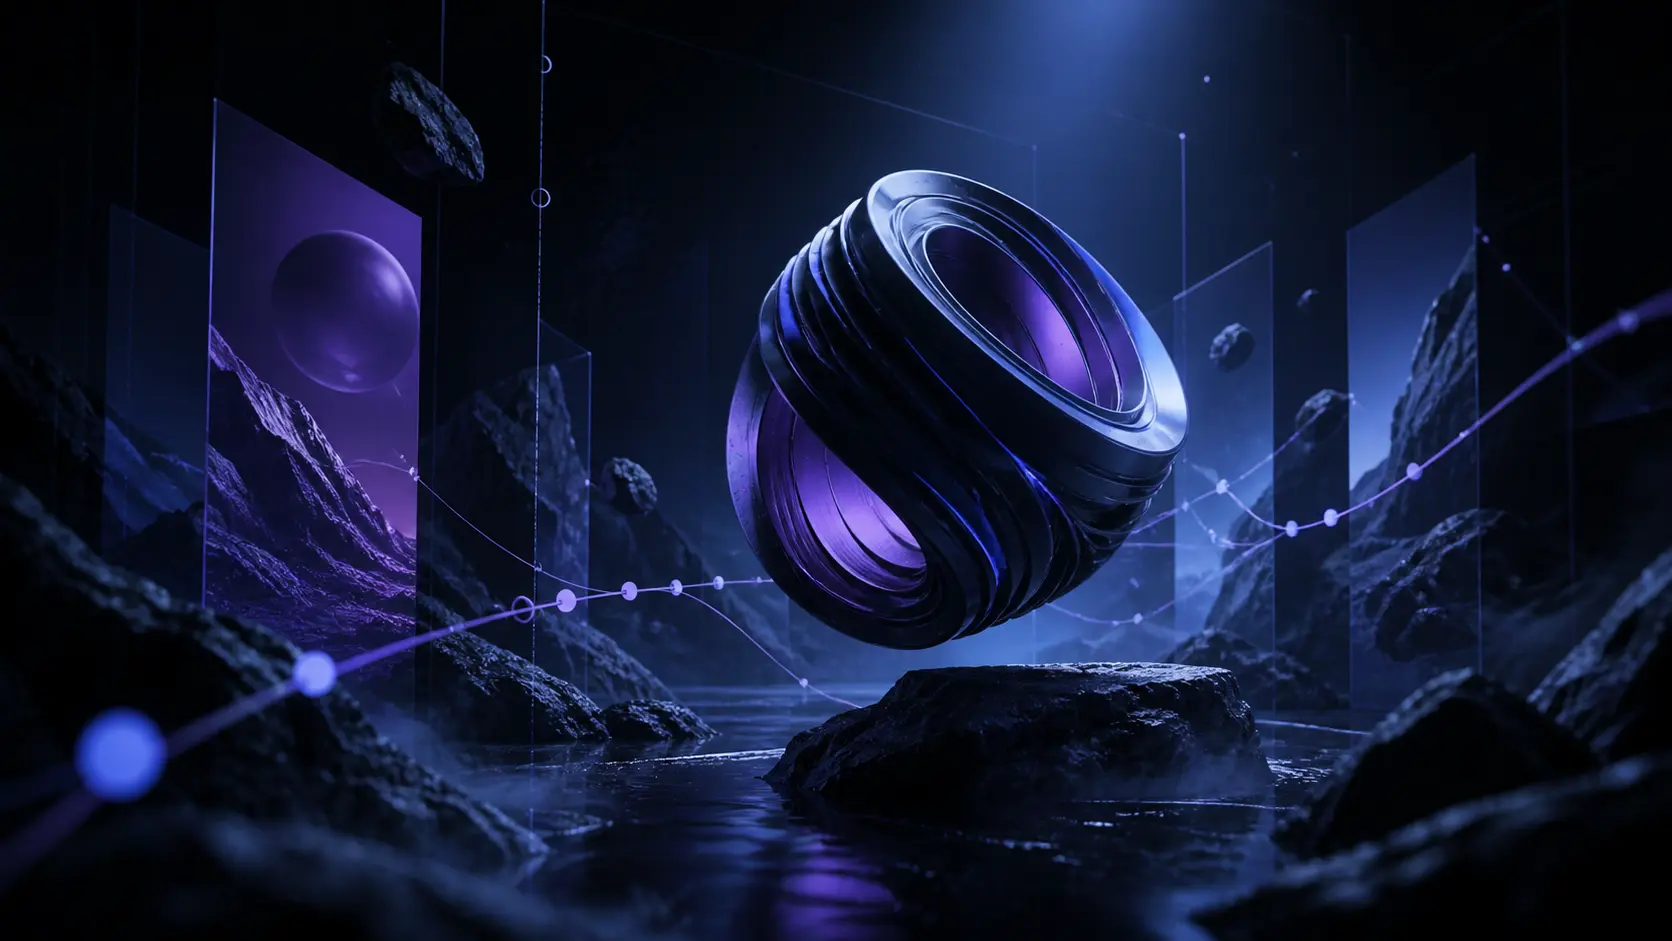
How to Build Cinematic 3D Scroll Sections with GSAP, Next.js, and React Three Fiber
A practical frontend guide to cinematic 3D scroll sections: GSAP ScrollTrigger, React Three Fiber, camera paths, pinned scenes, overlays, mobile fallback, performance, and AI-agent workflow.
A premium landing page does not need 3D just because 3D is trendy. It needs 3D when motion helps tell the story.
A cinematic 3D scroll section can make a product feel more physical, guide attention through a sequence, reveal details at the right moment, and turn a normal product section into a memorable interaction. But it can also destroy performance, break mobile, create hydration errors, and become impossible to maintain if the architecture is wrong.
The goal is not to copy a flashy WebGL demo. The goal is to build a controlled frontend pattern: one fixed 3D scene, one scroll timeline, a few camera beats, simple overlay text, mobile fallbacks, and a review checklist that keeps the experience production-safe.
This guide explains how to build cinematic 3D scroll sections with GSAP, Next.js, and React Three Fiber. We will cover the architecture, camera timeline, overlay chapters, ScrollTrigger setup, hydration safety, mobile behavior, performance, debugging, and how to use AI coding agents without letting them break the animation.
The Core Idea
A cinematic scroll section is basically a small film directed by scroll progress.
Instead of letting the user scroll through normal blocks, you pin or stretch a section and map scroll progress to visual beats:
- camera moves closer to the object;
- model rotates or shifts position;
- lights change subtly;
- overlay text appears and disappears;
- UI progress updates;
- particles, glow, or depth effects respond to motion;
- the scene ends by returning the user to normal page flow.
A simple architecture:
txtCopyLong scroll container → GSAP ScrollTrigger timeline → camera refs / model refs → React Three Fiber scene → overlay text chapters
The important part is separation. The 3D scene should render the world. GSAP should orchestrate time. React should manage structure. CSS should control layout and responsive behavior.
What We Are Building
The example pattern in this article is a product-style 3D scroll section for a premium landing page.
The section includes:
- a fixed full-screen 3D canvas;
- a long scroll container;
- a GSAP timeline connected to scroll;
- camera positions for different chapters;
- a simple 3D object or product model;
- overlay typography synced with the timeline;
- progress indicator;
- mobile fallback with simpler animation;
- reduced-motion fallback.
This pattern can be adapted for:
- SaaS product reveals;
- luxury product landing pages;
- portfolio case studies;
- agency websites;
- WebGL hero sections;
- interactive storytelling pages;
- launch pages with cinematic chapters.
Recommended Stack
For a modern Next.js project:
txtCopyNext.js App Router
React
TypeScript
GSAP
@gsap/react
ScrollTrigger
@react-three/fiber
@react-three/drei
Three.js
CSS Modules or Tailwind
GSAP’s React resources recommend the useGSAP() hook because it handles animation cleanup and React-specific friction. The docs also explain that GSAP instances created inside the hook are reverted automatically when the component unmounts. That matters a lot in Next.js, where route changes and React Strict Mode can expose cleanup problems.
React Three Fiber’s Canvas is the entry point into a Three.js scene in React, and its performance docs warn that WebGL can be expensive on weaker devices. So this pattern must be designed with performance and fallback behavior from the start.
File Structure
A clean file structure helps keep the effect maintainable:
txtCopyapp/
  page.tsx
components/
  cinematic-scroll/
    CinematicScrollSection.tsx
    CinematicScene.tsx
    CinematicCamera.tsx
    ChapterOverlay.tsx
    ProgressIndicator.tsx
    cinematicConfig.ts
    CinematicScrollSection.module.css
The separation matters:
CinematicScrollSection.tsxowns layout and GSAP ScrollTrigger;CinematicScene.tsxowns the 3D scene;CinematicCamera.tsxupdates the camera from mutable refs;ChapterOverlay.tsxrenders text chapters;cinematicConfig.tsstores the camera path and chapter data;- CSS handles responsive layout and fallback states.
Do not put the entire 3D scene, scroll timeline, overlay, and mobile logic in one giant component. AI agents especially struggle with huge animation components.
Step 1: Create the Scene Config
Before writing animation code, define the scene as data.
Example:
tsCopy// components/cinematic-scroll/cinematicConfig.ts
export type SceneChapter = {
  id: string;
  title: string;
  body: string;
  start: number;
  end: number;
  camera: { x: number; y: number; z: number };
  target: { x: number; y: number; z: number };
  modelRotation: { x: number; y: number; z: number };
};

export const sceneChapters: SceneChapter[] = [
  {
    id: "intro",
    title: "Enter the System",
    body: "A calm opening shot that establishes the object and space.",
    start: 0,
    end: 20,
    camera: { x: 0, y: 1.2, z: 8 },
    target: { x: 0, y: 0, z: 0 },
    modelRotation: { x: 0, y: 0.2, z: 0 },
  },
  {
    id: "detail",
    title: "Reveal the Detail",
    body: "The camera moves closer while the model rotates into a feature angle.",
    start: 20,
    end: 55,
    camera: { x: 2.2, y: 1.6, z: 4.2 },
    target: { x: 0, y: 0.4, z: 0 },
    modelRotation: { x: 0.1, y: 1.4, z: 0 },
  },
  {
    id: "final",
    title: "Return to Clarity",
    body: "The scene settles and prepares the user to continue scrolling.",
    start: 55,
    end: 100,
    camera: { x: 0, y: 1, z: 7 },
    target: { x: 0, y: 0, z: 0 },
    modelRotation: { x: 0, y: 3.1, z: 0 },
  },
];
This makes the experience easier to tune. Instead of rewriting timelines, you adjust camera beats in one file.
Step 2: Build the Section Shell
The shell creates the full-screen stage and long scroll distance.
tsxCopy// components/cinematic-scroll/CinematicScrollSection.tsx
"use client";

import { useRef } from "react";
import gsap from "gsap";
import { ScrollTrigger } from "gsap/ScrollTrigger";
import { useGSAP } from "@gsap/react";
import { Canvas } from "@react-three/fiber";
import { CinematicScene } from "./CinematicScene";
import { ChapterOverlay } from "./ChapterOverlay";
import { ProgressIndicator } from "./ProgressIndicator";
import { sceneChapters } from "./cinematicConfig";
import styles from "./CinematicScrollSection.module.css";

gsap.registerPlugin(ScrollTrigger, useGSAP);

export function CinematicScrollSection() {
  const sectionRef = useRef<HTMLElement | null>(null);
  const progressRef = useRef<HTMLDivElement | null>(null);
  const cameraRef = useRef({ x: 0, y: 1.2, z: 8 });
  const targetRef = useRef({ x: 0, y: 0, z: 0 });
  const modelRotationRef = useRef({ x: 0, y: 0.2, z: 0 });

  useGSAP(
    () => {
      if (!sectionRef.current) return;

      const setProgress = progressRef.current
        ? gsap.quickSetter(progressRef.current, "scaleX")
        : null;

      const tl = gsap.timeline({
        scrollTrigger: {
          trigger: sectionRef.current,
          start: "top top",
          end: "bottom bottom",
          scrub: 1,
          onUpdate: (self) => setProgress?.(self.progress),
        },
      });

      sceneChapters.forEach((chapter) => {
        const start = chapter.start / 100;
        const duration = (chapter.end - chapter.start) / 100;

        tl.to(cameraRef.current, chapter.camera, start);
        tl.to(targetRef.current, chapter.target, start);
        tl.to(modelRotationRef.current, chapter.modelRotation, start);
        tl.to({}, { duration }, start);
      });
    },
    { scope: sectionRef }
  );

  return (
    <section ref={sectionRef} className={styles.section}>
      <div className={styles.stickyStage}>
        <Canvas className={styles.canvas} dpr={[1, 1.5]}>
          <CinematicScene
            cameraRef={cameraRef}
            targetRef={targetRef}
            modelRotationRef={modelRotationRef}
          />
        </Canvas>
        <ChapterOverlay chapters={sceneChapters} />
        <ProgressIndicator ref={progressRef} />
      </div>
    </section>
  );
}
The long scroll section controls time. The sticky stage keeps the 3D scene visible. Mutable refs let GSAP update values without forcing React re-renders on every scroll tick.
Step 3: Add CSS for the Scroll Stage
A cinematic section usually needs more scroll height than one screen.
cssCopy/* CinematicScrollSection.module.css */
.section {
  position: relative;
  min-height: 420vh;
  background: #05060a;
}

.stickyStage {
  position: sticky;
  top: 0;
  height: 100vh;
  overflow: hidden;
}

.canvas {
  position: absolute;
  inset: 0;
}

@media (max-width: 767px) {
  .section {
    min-height: 220vh;
  }
}

@media (prefers-reduced-motion: reduce) {
  .section {
    min-height: auto;
  }

  .stickyStage {
    position: relative;
    min-height: 80vh;
  }
}
Notice the mobile and reduced-motion fallbacks. You should not ship a complex pinned 3D scroll scene without a simpler path for small screens and reduced-motion users.
Step 4: Create the React Three Fiber Scene
The scene can start simple. You do not need a complex GLB model on day one.
tsxCopy// components/cinematic-scroll/CinematicScene.tsx
import { MutableRefObject, useRef } from "react";
import { useFrame } from "@react-three/fiber";
import { PerspectiveCamera, Float } from "@react-three/drei";
import * as THREE from "three";
import { CinematicCamera } from "./CinematicCamera";

type VectorRef = MutableRefObject<{ x: number; y: number; z: number }>;

type Props = {
  cameraRef: VectorRef;
  targetRef: VectorRef;
  modelRotationRef: VectorRef;
};

function ProductObject({ modelRotationRef }: { modelRotationRef: VectorRef }) {
  const meshRef = useRef<THREE.Mesh | null>(null);

  useFrame(() => {
    if (!meshRef.current) return;

    meshRef.current.rotation.x = modelRotationRef.current.x;
    meshRef.current.rotation.y = modelRotationRef.current.y;
    meshRef.current.rotation.z = modelRotationRef.current.z;
  });

  return (
    <Float speed={1.2} rotationIntensity={0.15} floatIntensity={0.2}>
      <mesh ref={meshRef} castShadow receiveShadow>
        <torusKnotGeometry args={[1, 0.32, 160, 24]} />
        <meshStandardMaterial color="#8fd3ff" metalness={0.55} roughness={0.22} />
      </mesh>
    </Float>
  );
}

export function CinematicScene({ cameraRef, targetRef, modelRotationRef }: Props) {
  return (
    <>
      <color attach="background" args={["#05060a"]} />
      <fog attach="fog" args={["#05060a", 8, 18]} />
      <CinematicCamera cameraRef={cameraRef} targetRef={targetRef} />
      <ambientLight intensity={0.35} />
      <directionalLight position={[4, 6, 4]} intensity={2} />
      <pointLight position={[-3, 2, 4]} intensity={3} color="#7c3cff" />
      <ProductObject modelRotationRef={modelRotationRef} />
    </>
  );
}
Start with simple geometry. Replace it with a real GLB model only after the scroll, camera, and overlay timing work.
Step 5: Drive the Camera from Refs
React Three Fiber updates the camera inside the render loop.
tsxCopy// components/cinematic-scroll/CinematicCamera.tsx
import { MutableRefObject, useRef } from "react";
import { PerspectiveCamera } from "@react-three/drei";
import { useFrame, useThree } from "@react-three/fiber";
import * as THREE from "three";

type VectorRef = MutableRefObject<{ x: number; y: number; z: number }>;

type Props = {
  cameraRef: VectorRef;
  targetRef: VectorRef;
};

export function CinematicCamera({ cameraRef, targetRef }: Props) {
  const ref = useRef<THREE.PerspectiveCamera | null>(null);
  const { set } = useThree();

  useFrame(() => {
    if (!ref.current) return;

    ref.current.position.set(cameraRef.current.x, cameraRef.current.y, cameraRef.current.z);
    ref.current.lookAt(targetRef.current.x, targetRef.current.y, targetRef.current.z);
  });

  return <PerspectiveCamera ref={ref} makeDefault fov={42} near={0.1} far={100} />;
}
This avoids React state updates during scroll. GSAP changes the refs, and the render loop applies those values to the camera.
Step 6: Add Overlay Chapters
Overlay text should be readable and easy to tune. It should not be deeply coupled to the 3D model.
tsxCopy// components/cinematic-scroll/ChapterOverlay.tsx
import { SceneChapter } from "./cinematicConfig";
import styles from "./CinematicScrollSection.module.css";

type Props = {
  chapters: SceneChapter[];
};

export function ChapterOverlay({ chapters }: Props) {
  return (
    <div className={styles.overlay} aria-hidden="true">
      {chapters.map((chapter) => (
        <article key={chapter.id} className={styles.chapter} data-chapter={chapter.id}>
          <p className={styles.kicker}>Chapter</p>
          <h2>{chapter.title}</h2>
          <p>{chapter.body}</p>
        </article>
      ))}
    </div>
  );
}
You can animate these chapters with a second GSAP timeline or CSS classes driven by scroll progress. Keep the first version simple: opacity and transform are enough.
Good overlay rule:
txtCopyAnimate text opacity and y-position. Do not animate layout, width, or height during scroll unless necessary.
Step 7: Animate Chapter Text with ScrollTrigger
Add chapter animation inside the section useGSAP().
tsCopysceneChapters.forEach((chapter) => {
  const element = sectionRef.current?.querySelector(`[data-chapter='${chapter.id}']`);
  if (!element) return;

  gsap.fromTo(
    element,
    { autoAlpha: 0, y: 24 },
    {
      autoAlpha: 1,
      y: 0,
      scrollTrigger: {
        trigger: sectionRef.current,
        start: `${chapter.start}% top`,
        end: `${chapter.end}% top`,
        scrub: 0.5,
      },
    }
  );
});
For production, you may want each chapter to fade in, hold, and fade out. But do not overcomplicate the first build. Get the camera path right first.
Step 8: Add a Progress Indicator
A small progress bar helps users understand that the section is scroll-driven.
tsxCopy// components/cinematic-scroll/ProgressIndicator.tsx
import { forwardRef } from "react";
import styles from "./CinematicScrollSection.module.css";

export const ProgressIndicator = forwardRef<HTMLDivElement>(function ProgressIndicator(_, ref) {
  return (
    <div className={styles.progressTrack} aria-hidden="true">
      <div ref={ref} className={styles.progressBar} />
    </div>
  );
});
CSS:
cssCopy.progressTrack {
  position: absolute;
  left: 50%;
  bottom: 32px;
  width: min(420px, calc(100vw - 48px));
  height: 2px;
  transform: translateX(-50%);
  background: rgba(255, 255, 255, 0.16);
}

.progressBar {
  width: 100%;
  height: 100%;
  transform: scaleX(0);
  transform-origin: left center;
  background: linear-gradient(90deg, #8fd3ff, #7c3cff);
}
Use scaleX instead of changing width on every update. It is generally cheaper for animation.
Step 9: Mobile Fallback
Do not run the same cinematic scroll scene on every phone.
Mobile problems:
- viewport height changes when browser UI appears/disappears;
- pinned sections can feel trapped;
- GPU budget is smaller;
- touch scroll and smooth scroll can feel wrong;
- 3D text overlays may cover the product;
- scroll-triggered camera moves can become too sensitive.
A practical mobile fallback:
- shorter scroll distance;
- no pinning beyond one or two screens;
- fewer camera beats;
- no heavy particles;
- lower DPR;
- simpler material;
- static screenshot fallback for weak devices;
- no scroll smoother unless it is tested carefully.
Use gsap.matchMedia() for breakpoint-specific behavior:
tsCopyconst mm = gsap.matchMedia();

mm.add("(min-width: 768px)", () => {
  // desktop ScrollTrigger setup
});

mm.add("(max-width: 767px)", () => {
  // simpler mobile timeline or no pinned scroll
});
GSAP’s matchMedia tools are useful for responsive animation setups, and matchMediaRefresh() can rerun matching setups when needed.
Step 10: Reduced Motion
A cinematic section must not depend on motion to communicate the message.
Reduced-motion fallback:
tsCopyconst reduceMotion = window.matchMedia("(prefers-reduced-motion: reduce)").matches;

if (reduceMotion) {
  gsap.set(sectionRef.current?.querySelectorAll("[data-chapter]"), { autoAlpha: 1, y: 0 });
  return;
}
For reduced motion:
- show the object in a stable view;
- show all important content without scroll choreography;
- remove scrub, pinning, parallax, and camera sweeps;
- preserve normal page reading order.
The effect is optional. The content is not.
Hydration Safety in Next.js
Next.js hydration errors happen when the server-rendered HTML does not match the client render. The official Next.js docs recommend making the initial client render match the server output, and moving client-only differences into useEffect when needed.
For 3D scroll sections:
- mark the component with
"use client"; - do not read
windowduring server render; - do not generate random IDs in JSX;
- keep server and client markup stable;
- initialize GSAP only on the client;
- avoid conditional markup based on viewport during first render;
- use CSS media queries when possible.
Bad:
tsxCopyconst isMobile = window.innerWidth < 768;
return isMobile ? <MobileScene /> : <DesktopScene />;
Better:
tsxCopy"use client";

import { useEffect, useState } from "react";

export function useHasMounted() {
  const [mounted, setMounted] = useState(false);

  useEffect(() => {
    setMounted(true);
  }, []);

  return mounted;
}
Use this only when you truly need client-only rendering. Prefer stable markup and CSS where possible.
Performance Rules
WebGL scroll sections can become expensive quickly.
Performance rules:
- cap DPR with
dpr={[1, 1.5]}or similar; - keep geometry simple at first;
- avoid too many transparent layers;
- avoid heavy post-processing on mobile;
- preload GLB models carefully;
- compress textures;
- avoid animating React state on every scroll tick;
- prefer refs for camera values;
- avoid expensive shadows unless they matter;
- test on real mobile devices.
React Three Fiber’s performance docs emphasize that WebGL can be expensive depending on device power. So a cinematic scroll effect should be designed for graceful degradation, not maximum GPU usage.
If the page is for a business landing page, performance is part of the design.
AI-Agent Workflow for Building This
This kind of section is a perfect place to use AI carefully.
Do not ask the agent:
txtCopyBuild a cinematic 3D scroll experience like Codrops.
That is too broad.
Use phases:
-
Architecture phase
Ask the agent to propose file structure and data flow. No code yet. -
Static scene phase
Build a simple React Three Fiber scene with no scroll. -
Scroll timeline phase
Add GSAP ScrollTrigger to drive refs. -
Overlay phase
Add text chapters and progress UI. -
Responsive phase
Add mobile and reduced-motion fallbacks. -
Performance phase
Review render loop, DPR, materials, geometry, and cleanup. -
QA phase
Test scroll, resize, route changes, mobile, and hydration.
Good prompt:
txtCopyWe are building a cinematic 3D scroll section in Next.js with GSAP and React Three Fiber.

Phase 1 only: propose the component architecture and data flow. Do not write implementation code yet.

Constraints:
- Use `useGSAP()` for GSAP setup and cleanup.
- Keep camera values in refs, not React state.
- Keep mobile fallback simple.
- Respect reduced motion.
- Avoid reading `window` during render.
- Keep the first version simple: one 3D object, three camera beats, overlay text, progress bar.
Debugging Checklist
Use this checklist before shipping:
mdCopy## Cinematic 3D Scroll QA Checklist

### Scroll behavior
- [ ] Section starts and ends at expected scroll positions.
- [ ] Camera path feels intentional.
- [ ] No jump when entering or leaving the section.
- [ ] Refresh works after images/models load.
- [ ] Route changes do not duplicate animations.

### 3D scene
- [ ] Model scale and camera distance work on desktop.
- [ ] Materials are not too expensive.
- [ ] DPR is capped.
- [ ] Render loop does not update React state every frame.
- [ ] Scene works without post-processing.

### Next.js / React
- [ ] Component is client-side where needed.
- [ ] No hydration warnings.
- [ ] GSAP cleanup works on unmount.
- [ ] No browser-only values are read during render.

### Mobile
- [ ] Mobile fallback is simpler than desktop.
- [ ] Pinned scroll does not trap the user.
- [ ] Text remains readable.
- [ ] Touch scroll feels natural.

### Accessibility
- [ ] Reduced motion is respected.
- [ ] Important content is readable without animation.
- [ ] Overlay text does not block interactive controls.

### Performance
- [ ] Tested on a real phone.
- [ ] No obvious frame drops.
- [ ] Textures/models are optimized.
- [ ] Lighthouse or performance trace is acceptable.
Common Mistakes
Avoid these mistakes:
- building the 3D scene and scroll logic in one giant component;
- using React state for every scroll update;
- running the same pinned effect on mobile;
- ignoring reduced-motion preferences;
- reading
windowduring render in Next.js; - forgetting GSAP cleanup;
- letting ScrollTrigger initialize before layout or media is ready;
- using huge GLB files and uncompressed textures;
- adding particles, shaders, and post-processing before the base camera path works;
- asking an AI agent to build the whole effect in one prompt.
The strongest cinematic sections are usually simpler than they look. They have one clear object, one clear camera path, and a few well-timed text beats.
When Not to Use This Pattern
Do not use a cinematic 3D scroll section when:
- the page needs to load instantly on weak devices;
- the product does not benefit from visual storytelling;
- the content is mostly text and comparison tables;
- the client cannot maintain 3D assets;
- mobile traffic is dominant and performance budget is tight;
- the team cannot test across devices;
- accessibility requirements conflict with the interaction.
A normal section with strong design, video, or lightweight CSS animation may be better.
Cinematic 3D should support the message. It should not become the message.
Conclusion
A cinematic 3D scroll section is not just a GSAP trick. It is a small interactive scene with architecture, timing, performance constraints, and fallback behavior.
Use GSAP to direct scroll progress. Use React Three Fiber to render the scene. Use refs for camera values. Use overlay chapters for storytelling. Use useGSAP() for cleanup. Keep mobile simpler. Respect reduced motion. Test on real devices.
And if you use an AI coding agent, do not ask it to build the whole movie at once. Ask it to build the camera, scene, timeline, overlay, and QA process one controlled step at a time.
That is how you turn a flashy demo idea into a production-ready premium landing page pattern.